Bubble, Brew, Bliss: How to Use a Bubbler to Elevate Your Me-Time Ritual
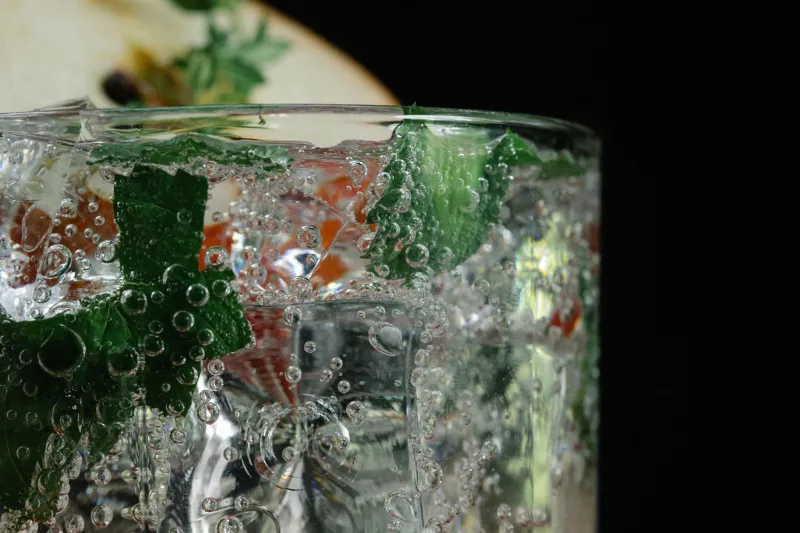
You've done the candles. You've done the face mask. You've got the playlist on low and the couch cushions arranged just right. But if your drink situation is still just whatever's left in the fridge, you might be missing a seriously underrated piece of the me-time puzzle.
Enter: the bubbler.
Whether you're talking about a countertop sparkling water maker, a loose-leaf tea bubbler pitcher, or one of those gorgeous glass cold-brew bubblers that look like they belong in a boutique hotel lobby, these little gadgets have quietly become one of the best tools for upgrading your solo wind-down routine. And honestly? They're way easier to use than you'd think.
Here's your full, no-fuss guide to getting started.
Wait — What Exactly Is a Bubbler?
Fair question. The term "bubbler" gets used in a few different ways depending on where you live and what you're shopping for. In the world of at-home wellness and drink prep, it most commonly refers to one of three things:
- A sparkling water maker (like a SodaStream or Drinkmate) that carbonates plain water or beverages using a CO2 canister.
- A loose-leaf tea or infusion bubbler — typically a glass pitcher or carafe with a built-in mesh infuser that lets herbs and botanicals steep while keeping the loose bits out of your drink.
- A cold-brew bubbler — a slow-drip or immersion system that brews coffee or herbal concentrate directly into a sealed glass vessel, sometimes with a small aerating mechanism.
For the purposes of this guide, we're focusing mostly on the sparkling water maker and the infusion-style bubbler, since those are the two that show up most in at-home relaxation setups — and the ones most people are curious about when they first go searching.
Setting Up a Sparkling Water Bubbler
If you've got a countertop carbonation machine, here's how to actually use it without making a mess or wasting your CO2:
Step 1: Fill the bottle cold. This one matters more than people realize. Cold water holds carbonation way better than room-temperature water. Fill your bottle to the marked line (not above it — overfilling is the #1 rookie mistake) and pop it in the fridge for at least 30 minutes before you carbonate.
Step 2: Attach the bottle securely. Most models have a twist-lock or snap-in mechanism. Make sure it's seated all the way before you start — a loose bottle means a very fizzy mess on your counter.
Step 3: Carbonate in short bursts. Press the button in 1–2 second bursts rather than one long hold. This gives you more control over the fizz level. Two or three short presses = lightly sparkling. Five or more = full-on bubbly. Play around with it until you find your sweet spot.
Step 4: Release pressure slowly. Before you remove the bottle, let it vent fully. There's usually a pressure release button or a slow-twist mechanism. Rushing this step is how you end up with sparkling water on the ceiling.
Step 5: Pour and enjoy. Add a slice of lemon, a few fresh mint leaves, a splash of fruit juice, or a drop of bitters — whatever fits your vibe — and you've got a genuinely satisfying drink that feels way more special than it has any right to.
Using a Loose-Leaf or Herbal Infusion Bubbler
This style is a little more low-tech but honestly just as satisfying. Think of it as a French press, but for tea, herbs, and botanicals.
Step 1: Choose your blend. This is the fun part. Chamomile and lavender for a wind-down vibe. Peppermint and lemon balm if you want something refreshing. Hibiscus and rose hip for a tart, beautiful pink brew. The combinations are basically endless, and a lot of specialty grocery stores and online wellness shops carry pre-blended loose-leaf options specifically designed for relaxation.
Step 2: Add your herbs to the infuser basket. A good rule of thumb is about one heaping teaspoon of dried herbs per cup of water. If you're using fresh herbs, double that amount.
Step 3: Pour hot (not boiling) water over the infuser. For most delicate herbs and florals, water around 190–200°F works better than a full boil. Boiling water can make some herbs taste bitter or grassy. If you don't have a temperature-controlled kettle, just let your boiled water sit for about a minute before pouring.
Step 4: Steep for 5–10 minutes. Longer steeping = stronger flavor, but also more bitterness with some herbs. Start at 5 minutes and adjust from there.
Step 5: Remove the infuser and pour. Some bubblers have a built-in plunger mechanism that pushes the infuser basket up, keeping the herbs out of the liquid. Others you just lift out by the handle. Either way, you're left with a clean, fragrant brew ready to drink hot or pour over ice.
Making It Part of Your Me-Time Routine
Here's the thing about bubblers that doesn't get talked about enough: the ritual of using one is half the point.
There's something genuinely grounding about taking five minutes to prepare a drink intentionally — choosing your herbs, filling your bottle, waiting for the steep — rather than just grabbing whatever's convenient. It signals to your brain that this time is different. This is your time.
At MeTimeBox, we're big believers that the best self-care doesn't have to be expensive or elaborate. It just has to feel intentional. And a bubbler — whether it's a $30 glass infuser pitcher from Amazon or a fancier countertop sparkling water system — is one of the most low-effort, high-reward upgrades you can make to your solo downtime.
Pair it with a good show from your watchlist, a book you've been meaning to start, or even just 20 minutes of total silence, and you've got a me-time setup that actually feels like something worth protecting in your schedule.
A Few Quick Tips Before You Go
- Clean your bubbler after every use. Herb residue and mineral buildup are sneaky and will affect the taste fast.
- Experiment with temperatures. Cold-infused herbs (steeped in cold water in the fridge overnight) produce a totally different — often smoother — flavor than hot steeping.
- Don't sleep on sparkling herbal tea. Brew your herbal infusion, let it cool, then carbonate it in your sparkling water maker. It sounds fancy. It takes about 10 minutes. It is extremely good.
- Label your CO2 canisters. If you've got a sparkling water maker, keep track of how full your CO2 cylinder is so you're not mid-pour and suddenly out of fizz.
Your me-time deserves a drink that's as thoughtfully put together as the rest of your ritual. A bubbler makes that embarrassingly easy to pull off.